Lets build an Edge capable system for the shop!
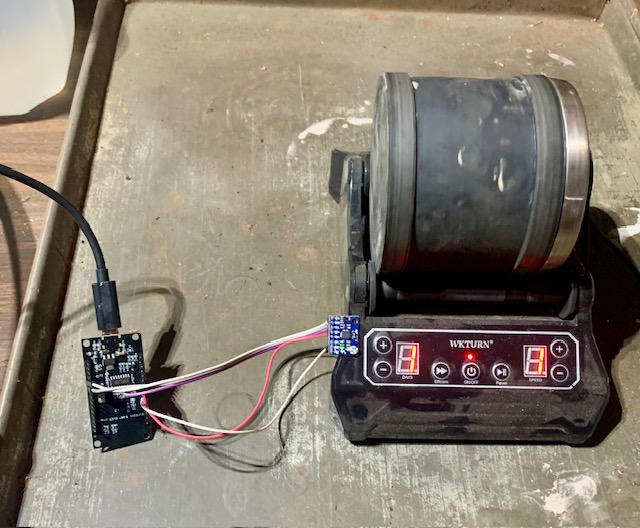
Build 1. I set up an ESP8266 with an MPU6050 and a Raspberry Pi 5 to monitor vibration on a small rock polisher. The goal was simple: stream data through MQTT into InfluxDB, add Grafana for visualization, and apply a light ML model for anomaly detection.
The setup exposed several gaps. Telegraf needed exact tokens and bucket names to connect. Influx exports stayed empty until I verified which fields the sensor was actually sending. Heavy Python packages failed on ARM, so I replaced them with a simple z-score calculation in plain Python. Each step required checking connections directly — MQTT with mosquitto_sub, Influx queries by hand — before moving up the chain.
The final system works. It scores every reading in real time and logs the results. The main lessons: confirm what data exists before filtering it, test each link independently, and keep the model simple enough to debug on the hardware you have.
🧠 ESP → ML Pipeline (Operational Summary)
Hardware
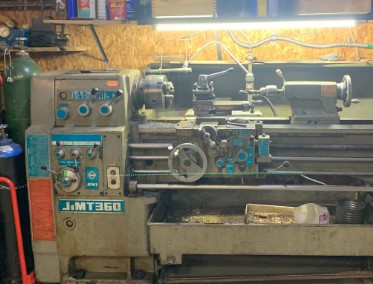
ESP8266 + MPU6050 sensor node - on vibratory polisher in image
Raspberry Pi 5 edge gateway
Software Stack
ESP8266 → MQTT (Mosquitto) → Telegraf → InfluxDB 2 → Grafana
↓
ML Scorer (Python)
Working components
✅ mpu6050 raw data stored in Influx
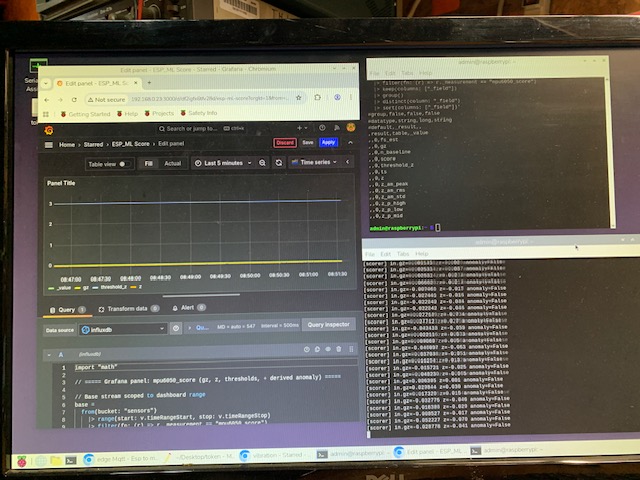
✅ Real-time z-score scorer (mqtt_gz_scorer.py) publishes to lab/pi5/mpu6050_score
✅ Telegraf ingests that topic into Influx
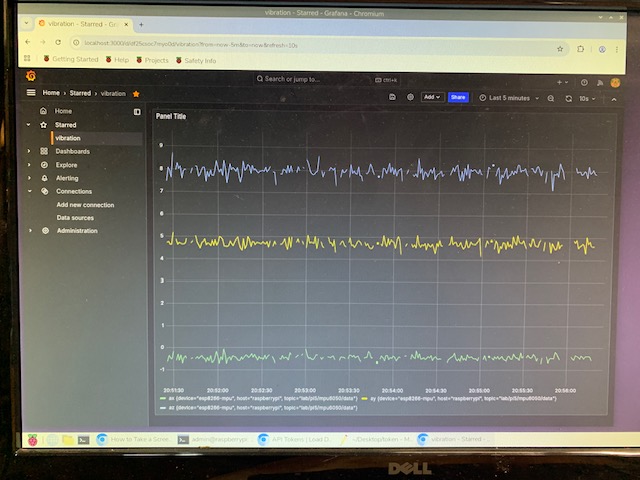
✅ Grafana panel visualizes gz, z, and derived anomaly (Flux verified)
🚀 Next expansion options
Add more signals – include ax ay az gx gy in scorer and retrain for multivariate detection.
Automated retraining – schedule a daily job to rebuild the z-score model from the last 24 h.
Edge alerting – trigger a GPIO or email when anomaly == 1.
Grafana alert – use Flux query anomaly == 1 for rule-based notifications.
Export to cloud – mirror selected metrics to a cloud bucket for backup or fleet analytics.
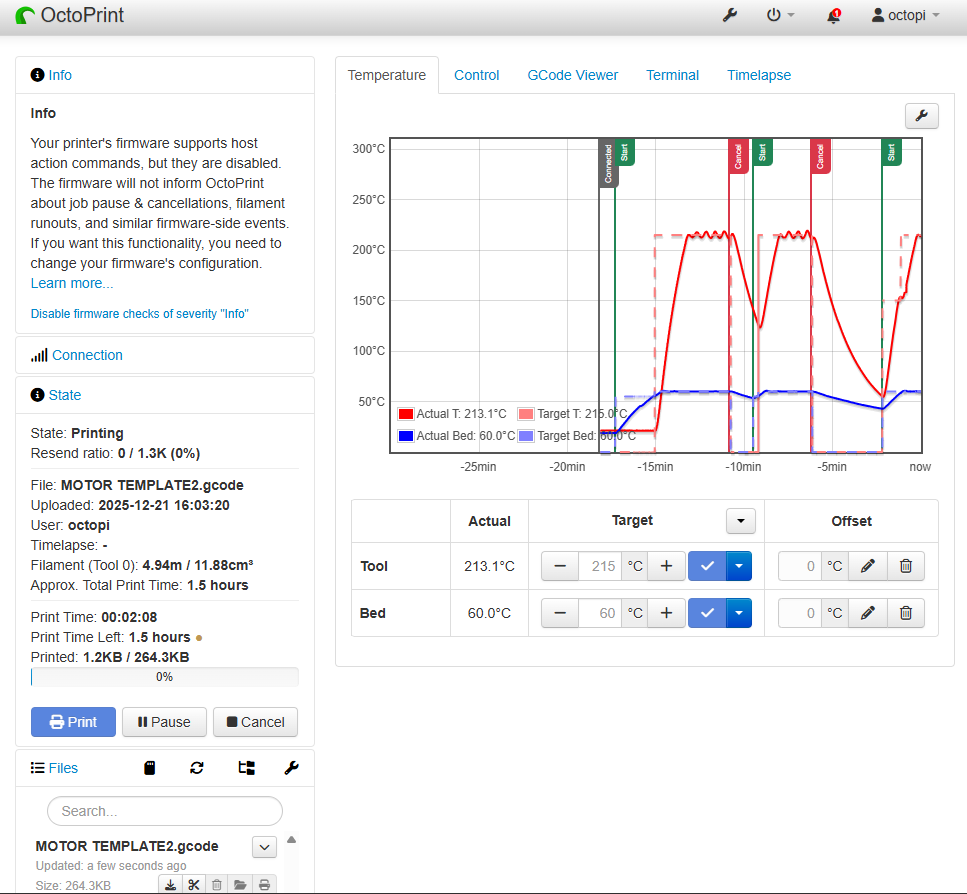
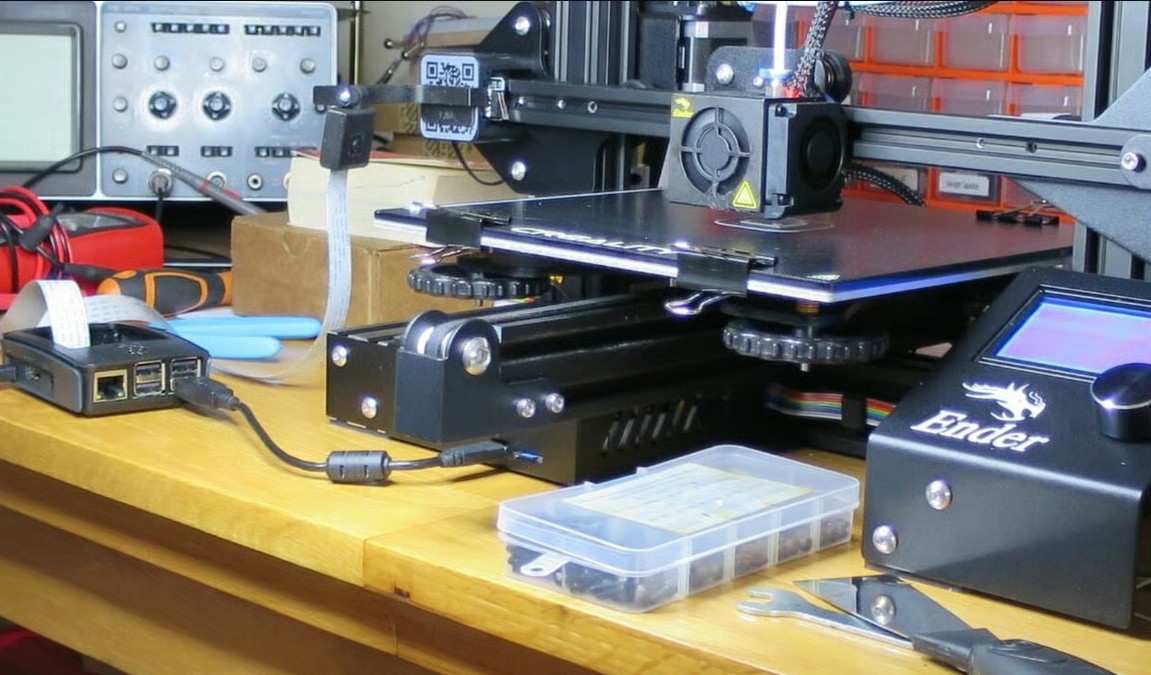
Update: Wow is Octoprint cool. I am used to an SD card or USB transfer over to my workhorse 3D printer "Oliver". I stumbled onto a nearly free setup of an Ender-3 which came loaded from someone who wanted to upgrade to a Bambu. This new printer is handling quick one-offs so Oliver can focus on challenging and longer term projects with more demanding materials.
I loaded Octoprint OS onto an unused Pi3B and just followed the instructions. It is dead simple to set up and run with a webcam. My previous webcam that w2as checking in on Oliver was a PITA to work with, the Octo is just plug in and run it.
I am testing the app for the iphone right now and will update with my results.
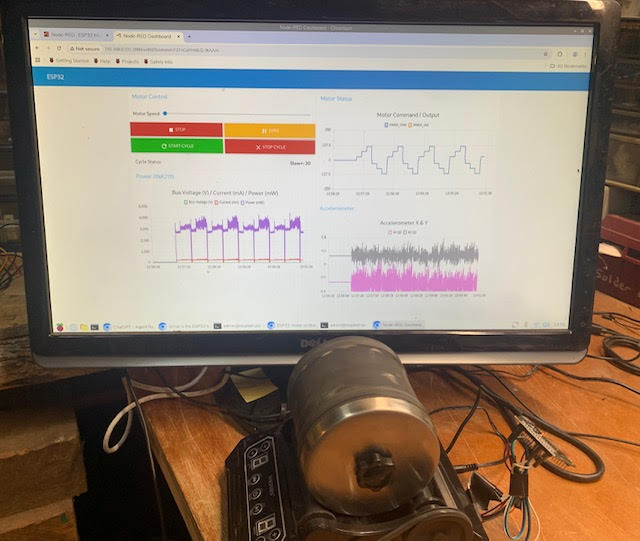
Build 2. Lets raise the challenge
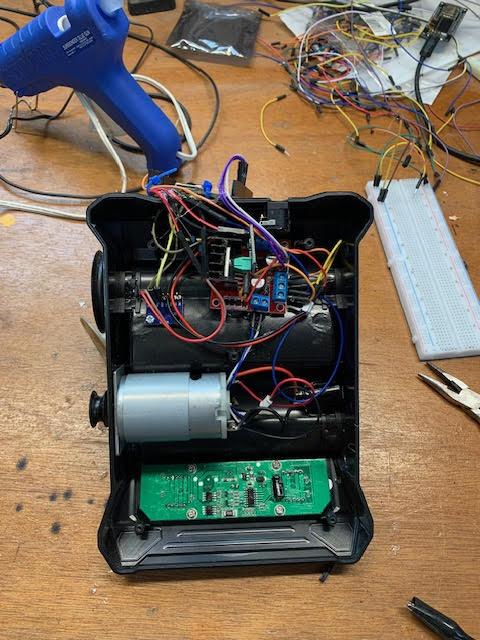
I took the original rock polisher and used an ESP32, 3 axis accelerometer, current detector, and a DC PWM controller to up the setup. Now it sends MQTT data on 3 axis vibration/current/voltage/temp up to the workshop ubuntu server which is taking over as the new MQTT broker for the shop. A ML model then decides based on that information how to set the polisher to run speed/direction/duration for optimal rock polishing. Next step is to link in an agentic control system with n8n and the local LLM to make it a hands off system.
Lessons Learned
Put the modules in, then wire it up. Not reverse, this causes a rats nest that is inelegant. Don't skimp on wire diameter or solid connections.
Vibe coding can get looped in complexity. Be sure to keep a running lab notebook in parallel with the coding, dont trust any of the foundational models to keep the story straight yet. Best option is to have a separate agentic system with memory and a component section. Code up whatever you like in Claude with an API key to your favorite model.
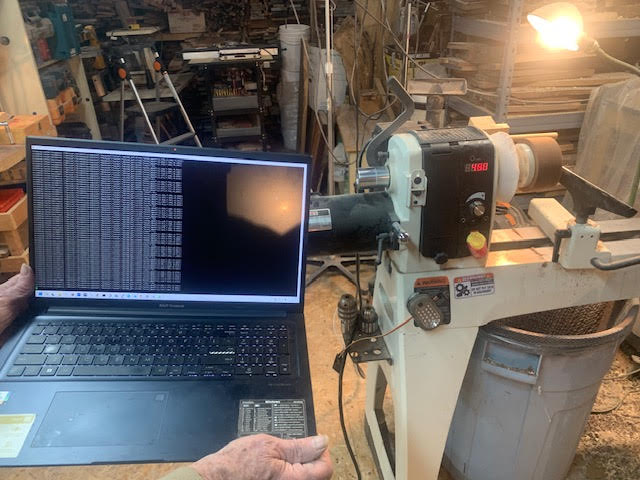
The "other" lathe
Build 1b. My dad wanted power and vibe monitoring on his woodworking lathe as well. An ESP32 with accelerometer and clamp power node and presto! This also goes to the shop server on MQTT. It might be fun to connect the speed to this setup ...maybe if the vibration was excessive we could have it shut down? Or maybe speed up? I am always super cautious on systems that are serious, this will take some thought.
I think we need to get some data started on Laithla...vibes and temp to start. Pressure soon.